How to apply blush to a round face
Find where to place blush for a lifted effect and learn how to blend powder, cream or liquid colour.
Round faces: where to start
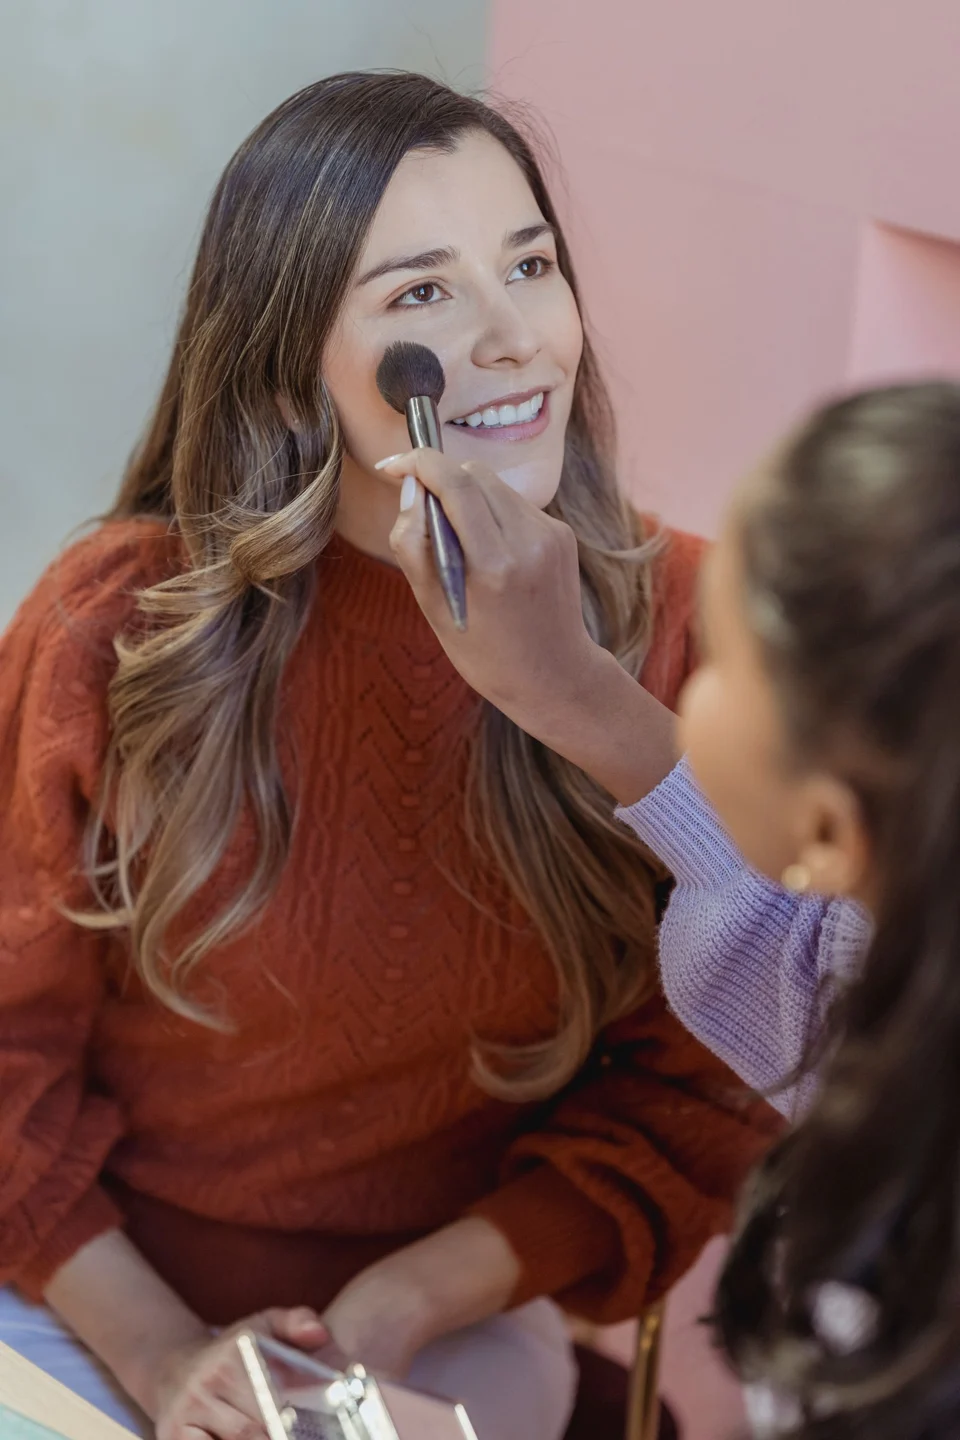
For a lifted effect on a round face, start high on the cheek and blend outwards along the cheekbone towards the temple. This keeps more colour towards the side than placing blush in the centre of the cheeks. It’s one way to wear it. If you love a soft, full flush on the apples of your cheeks, go for that. The shape of your face is yours to enjoy.
Look straight in the mirror with your face relaxed. Round, oval and square are rough guides, and plenty of faces mix features. Find your cheekbone and think about what you’d like to see in the mirror. A soft daytime flush, a sweep of colour higher up, or cheeks that take centre stage? The same blush can give you all three if you change where it goes, how much you use and how far you blend.
Find your starting point for an upward sweep
Use the outer corner of your eye as a guide for a lifted look and work high on the cheek, out towards the temple. Pick a small spot on the upper cheek, off to the side of your face, and build a soft wash of colour. Let it fade gradually into the skin so you don’t end up with a stripe from the eye to the hairline.
Try resting an empty brush on the spot before loading it. It can help you see where to move your hand. For a more sculpted look, you could also blend below the cheekbone towards the hairline. To keep it simple, start with one direction, high and outwards, and use it on both sides. See how you like the placement before adding bronzer or highlighter.
Make the motion work on your face
Keep your wrist relaxed as the brush meets your cheek. Holding it too close to the bristles can make you press harder than you need to. Slide your grip a little further down the handle for a gentler blend. Keep your arm comfortable and let the skin sit naturally. Follow the brush in the mirror and adjust your hand on the other cheek, where the angle will feel different.
Watch three things: where the colour first lands, the direction you move it and how far the edges spread. For a lifted effect, keep the starting point from drifting down the cheek. You can blend up and out and stop well before the hairline if you like the result there. A close-up only shows part of your face. Step back from the mirror to see how the make-up looks as a whole.
Powder blush: a few taps and soft edges
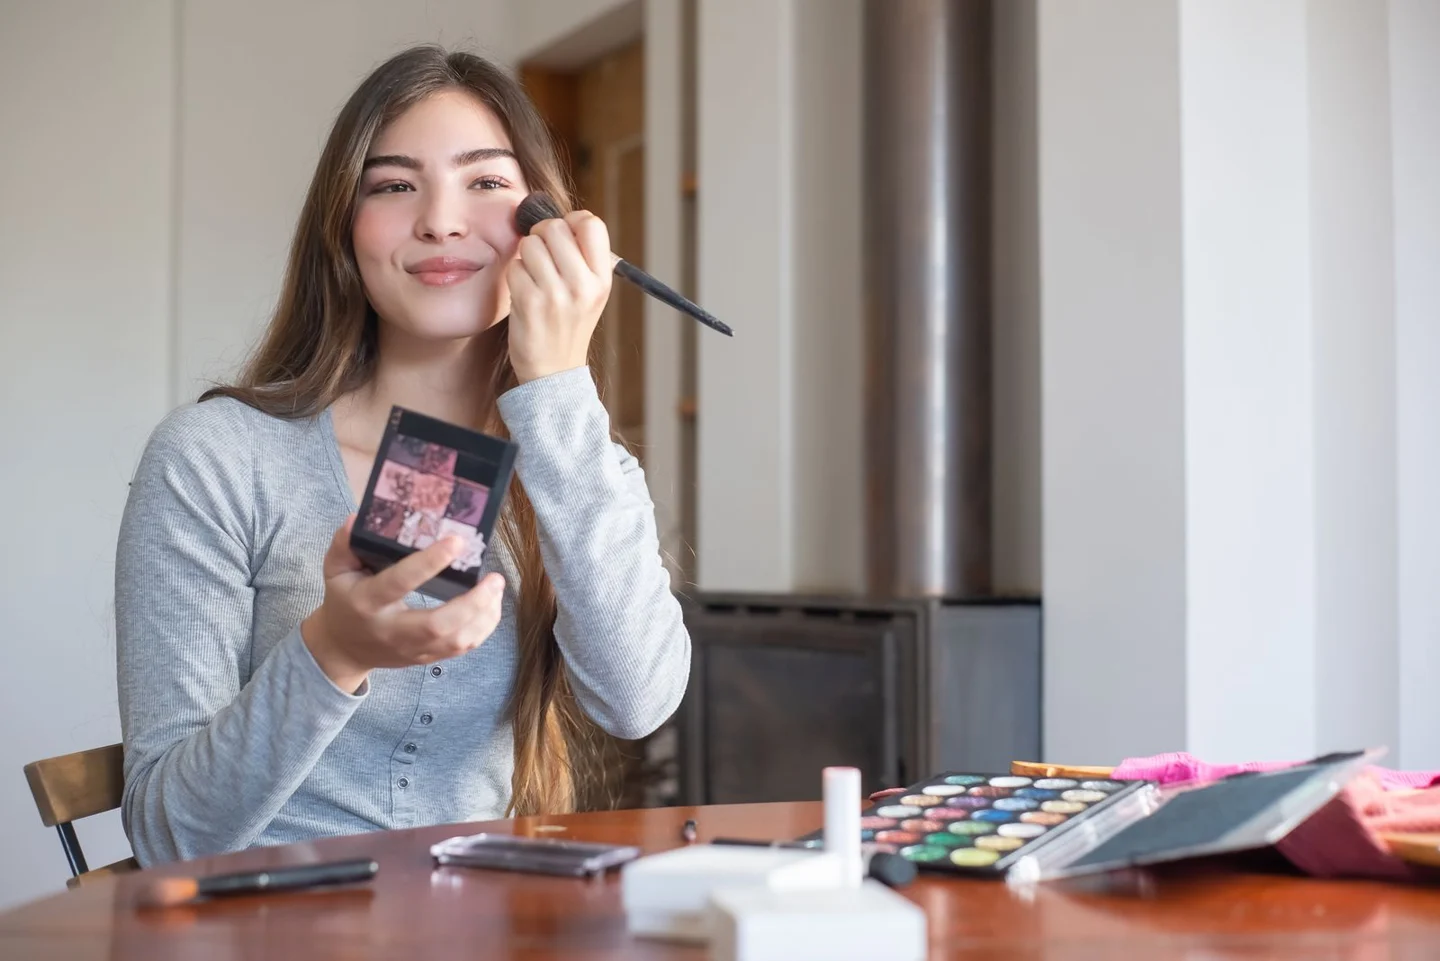
Pick up a little powder with a soft brush and tap off the excess before it touches your face. Place the brush where you want the colour and blend outwards with light strokes. Pressing the whole brush into the cheek can leave a strong first mark, especially with a pigmented formula. It’s easier to add a little colour than to correct a dense patch. Choose a brush size that lets you control where the powder lands.
A big brush can give you a lovely soft flush. For more precise placement, try a smaller head. Dense bristles tend to put down more colour than a larger, airy brush. Try adjusting pressure and quantity before buying a new one. If your brush picks up a lot, work with the tip and use a lighter touch to avoid rubbing away your base.
Cream or liquid blush: build up the colour
Start with a tiny amount. If the instructions allow, put some on the back of a clean hand and pick it up gradually with clean fingertips or an applicator. Tap it high on the cheek and blend out towards the temple. Some formulas are very pigmented and set quickly. Starting with a little gives you more room to adjust where the colour goes.
The order depends on your blush and your base. Cream can be easier to work over foundation before you add much powder, though some blushes are made to layer differently. Follow the product directions and watch whether the blush blends in or moves the foundation. If your base starts lifting, switch to gentler taps. Dragging the colour around can disturb an even bigger area.
Where to stop blending
Leave a little room between the strongest part of the blush and the side of your nose. How much space feels right depends on your face and brush. See whether the colour stays near the cheekbone or spreads further into the centre than you wanted. Keep the strongest colour high and to the side for a lifted effect. You can soften the edges without blending all the way down towards the mouth.
Check the height with your face relaxed. Smiling helps you spot the apples of your cheeks, but colour on their highest point can sit differently once you stop smiling. If you want the colour high, check it again with a neutral expression. Aim for a similar intensity and direction on both sides and let your hand follow your natural features.
Choose a shade and soften excess colour
Pink, peach, coral and deeper shades can all work. Think about your skin tone, what you love wearing and the rest of your make-up. Finish makes a difference too. A luminous powder catches the eye, while a matte finish gives a different effect. Start with a colour you already like and adjust the amount. Your face shape can guide placement while leaving you free to wear the colours you love.
If you’ve applied too much, pause before reaching for more powder. For powder blush, use a clean brush to soften the edge. If it suits your base, use a clean sponge to tap gently over excess colour. Work a little at a time without rubbing. Then step back from the mirror. Blush often looks stronger up close than it does at a normal distance. Stop when you like what you see.
SOURCES AND FURTHER READING
Did this story touch your heart?
Psst… you’ll like this too!
Cream, powder or hybrid blush: which should you choose (and how do you apply it)?
Read the story ↗Share this story