JUST-KISSED LIPS? LET YOUR LIPSTICK SOFTEN!
The outline softens while the colour stays. Try blurred lips with a small amount of lipstick and a brush, finding an effect that feels like you.
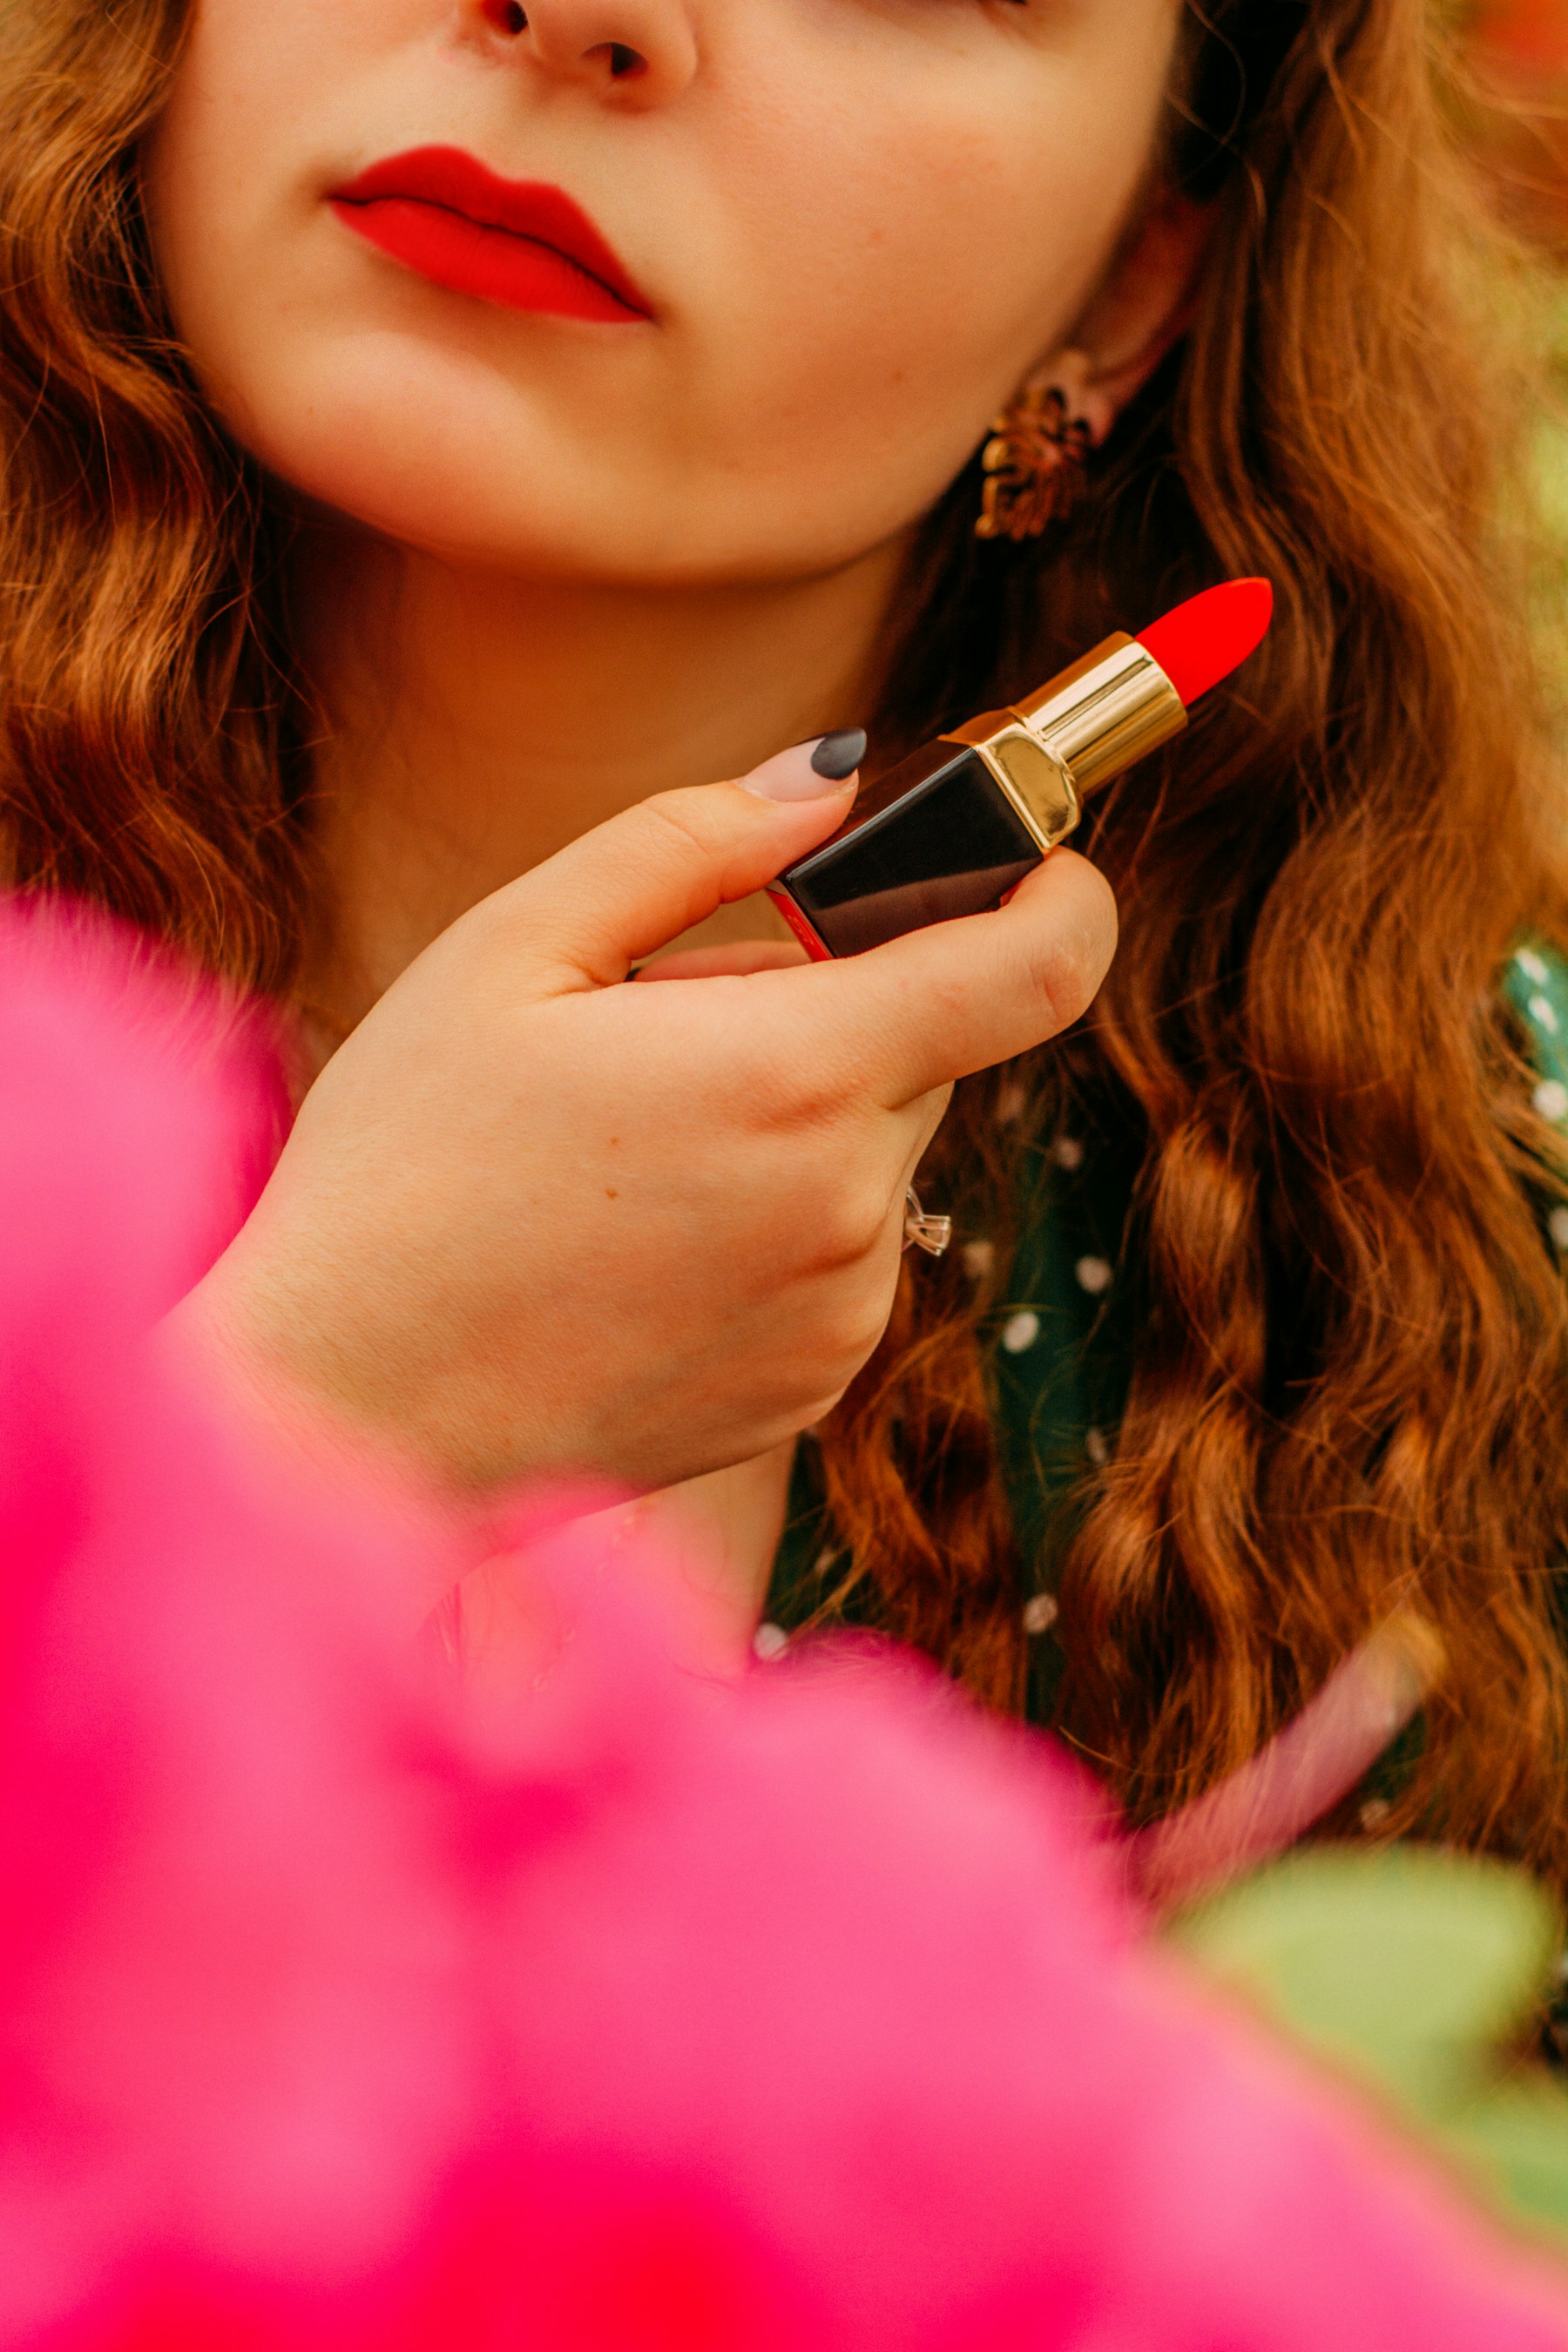
Ever spent ten minutes trying to make both sides of your lipstick perfectly equal? You correct one edge, adjust the other and end up adding far more colour than you intended. Blurred lips offer a different experiment: visible colour with a softer boundary. You can try it without changing the natural shape of your mouth.
The secret is in the edge: soften it with little taps rather than drawing a sharp outline. Victoria Beckham Beauty also blots lipstick in its SS27 runway look. Let’s borrow that gesture and try it with a colour we love.
Soft edges, controlled colour
A blurred boundary looks less sharp than a graphic outline. Colour still belongs on the lips: spreading it down towards your chin is a different result. Start sparingly and keep checking the whole face. You can concentrate pigment in the centre, fading towards the edge, or soften the outline of an even layer.
Prepare, then blot
If you like, apply a little of your usual balm and allow it to settle. Blot away excess before adding colour: a very slippery surface makes pigment harder to control. Avoid rubbing at loose skin. If your lips feel irritated, save the experiment for another day and choose what feels comfortable.
Build the effect a little at a time
Place a small amount of lipstick in the centre of the lower lip. Tap it outwards with a clean brush or freshly washed fingertip. Repeat above, stopping inside the natural outline. Press and lift rather than dragging back and forth. With almost no product left on the brush, soften the boundary with tiny taps.
Step away from the mirror before adding more. For extra intensity, put another little touch in the centre instead of loading the edge. Gently pressing a tissue onto the lips can remove some excess; rubbing it across them may move the colour around.
Pencil and texture: choose your own controls
A pencil close to your lipstick shade can provide a guide; blend it before adding lipstick. It is optional, and you do not have to draw a larger mouth. With a fast-setting liquid, work in small sections. With a soft formula, begin with very little. The actual product matters more than a broad matte or satin label.
For your first attempt, use a familiar shade. Pink, brick, red and berry can all become experiments. A strong contrast against your natural lip colour makes edges more noticeable. You can soften an intense red by using less, rather than buying a new shade.
Small fixes and realistic touch-ups
Colour outside the lip? Clean that area with a fresh cotton bud and your makeup remover, then dry it. Too much in the middle? Blot before adding anything. After a meal, restart with a little colour on clean lips: repeatedly piling product over old layers can make control harder.
Decide the rest afterwards
Try the lips first and choose what you want around them. Mascara, blush and brows are possibilities, not obligations. A soft lip can work with a stronger eye or an almost bare face. Check in daylight and stop when you like what you see. Your smile has no need of a perfectly drawn border.